Convert HTML to Kadence Blocks with native attributes, not custom CSS
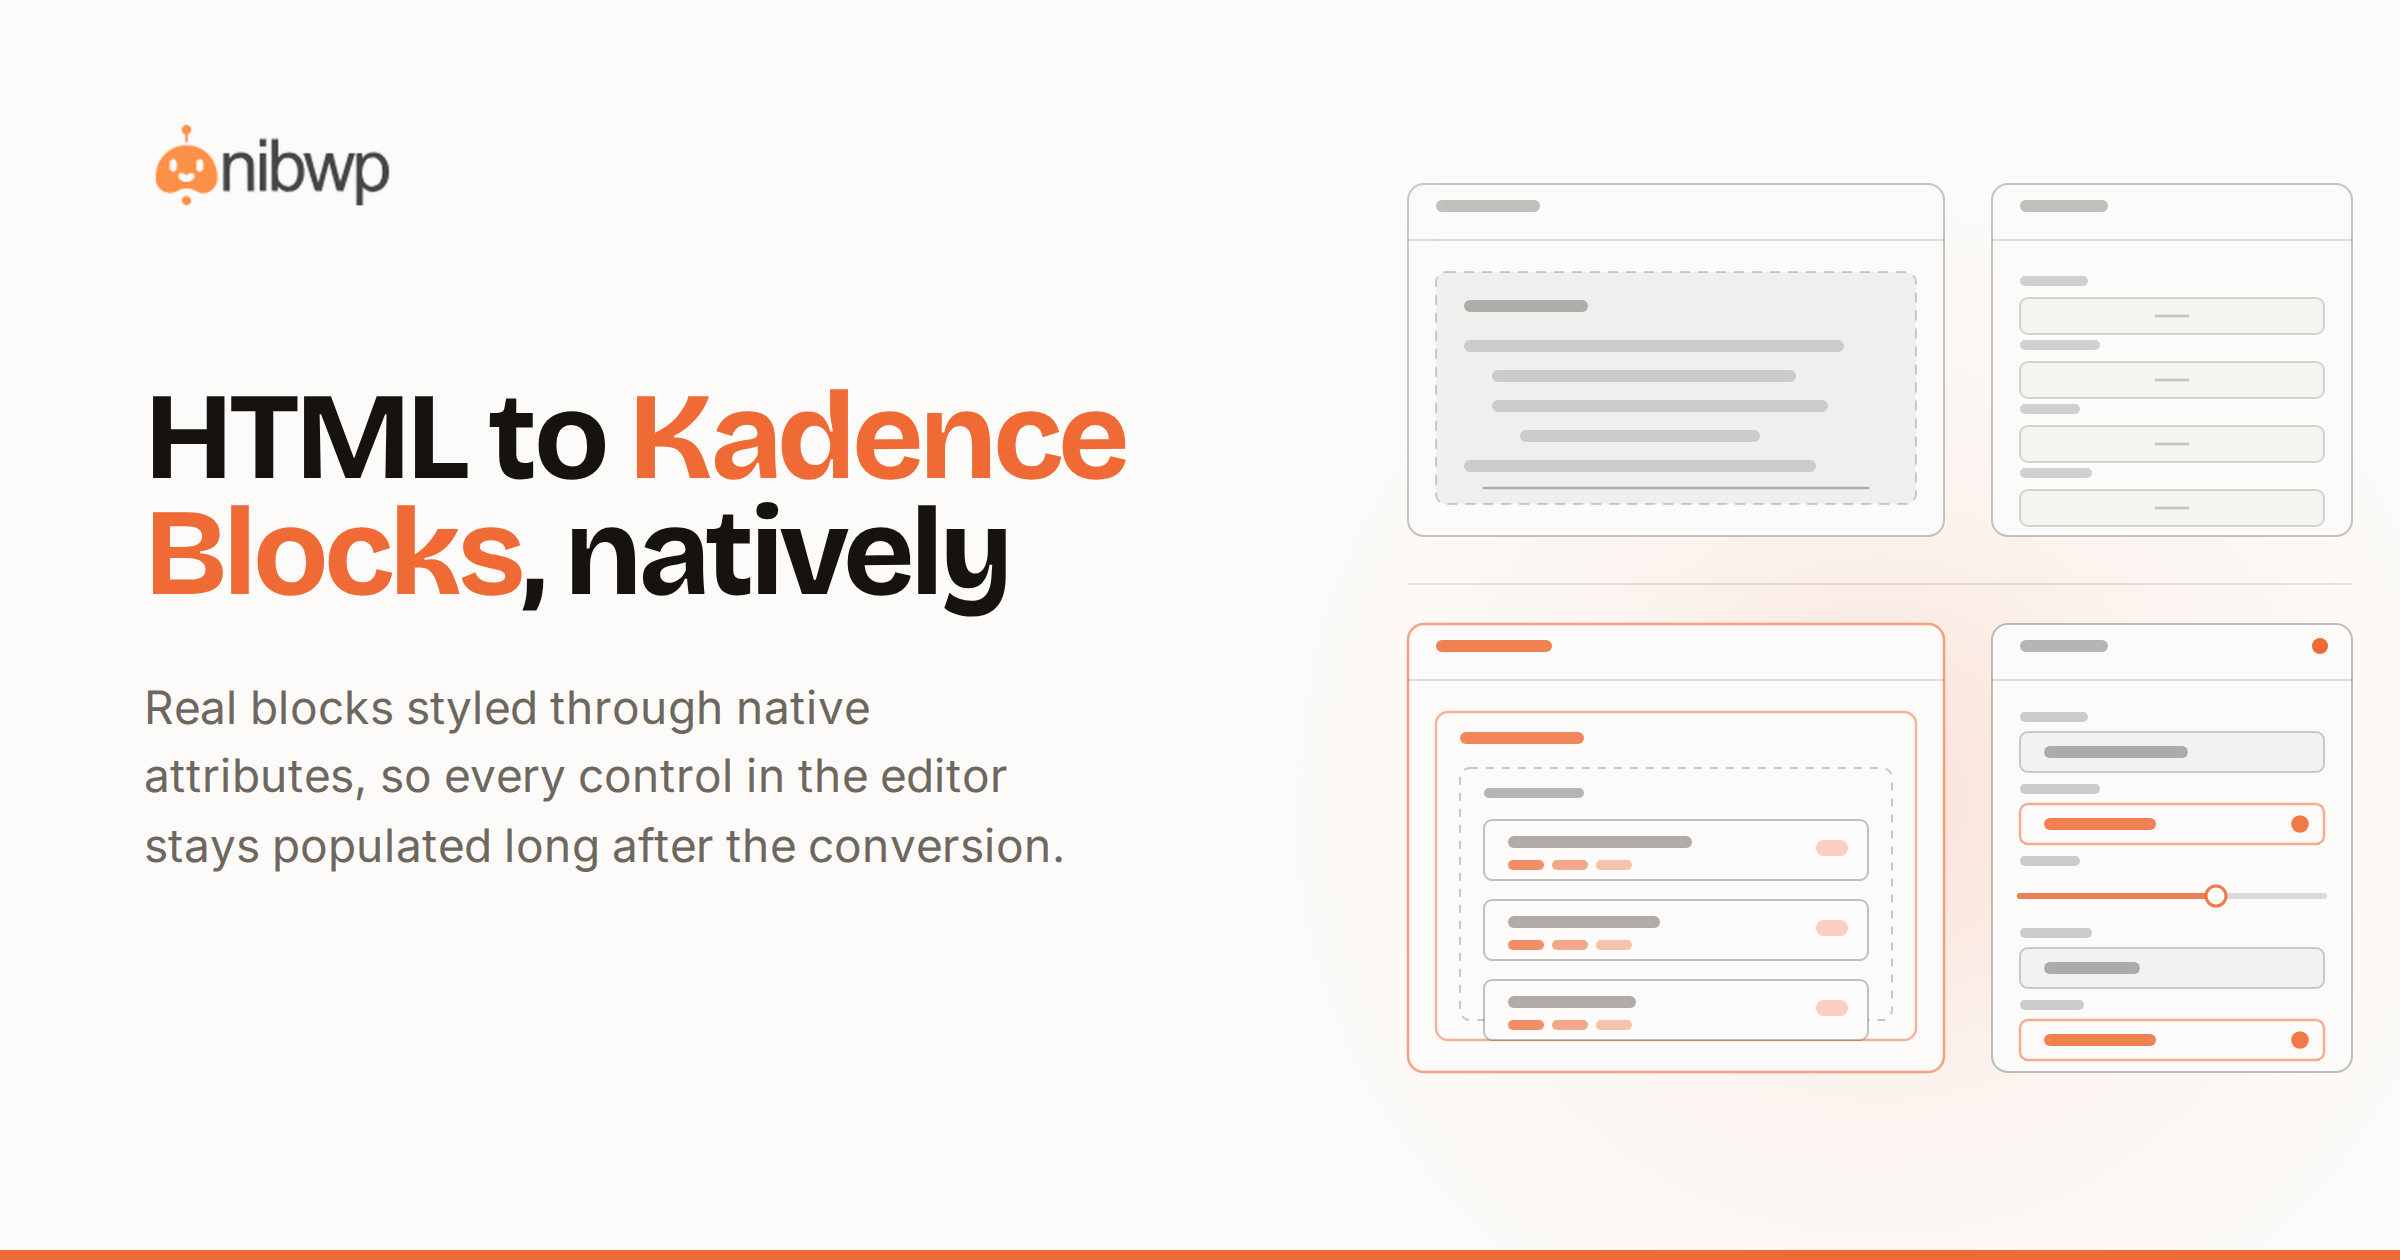
There is a right way and a wrong way to convert HTML to Kadence Blocks — and the wrong way is everywhere. Paste your markup into a generic converter or an AI assistant, and you usually get something that technically renders: headings styled by custom classes, sections wrapped in raw HTML blocks, and a Kadence editor whose controls are all empty.
The right way produces real Kadence blocks — Row Layout, columns, Advanced Heading, buttons, info boxes — styled through native block attributes. The design lives where Kadence expects it, every control in the editor stays populated, and the layout remains editable long after the conversion.
This guide explains why that difference decides whether your conversion survives its first client edit, then walks through six conversions step by step: a pasted HTML section, a full landing page, a live URL, a screenshot, an HTML email turned into a reusable pattern, and refining a converted layout with plain instructions.
Why custom CSS breaks a Kadence Blocks conversion
Kadence Blocks generates its CSS from block attributes, keyed to a unique ID on every block. Set the padding, colors and typography as attributes and Kadence writes the stylesheet for you — the editor controls show the real values, the responsive tablet and mobile controls work, and your global color palette applies everywhere.
A converter that styles the layout with custom classes and a bolted-on stylesheet skips that system entirely. The page may look correct on the day it ships, but it is practically unmaintainable:
- Empty editor controls. The design lives in a CSS file, so every padding, color and font control in the Kadence sidebar reads as default. Anyone editing the page later is editing blind.
- Raw HTML dumps. Whole sections arrive as a single Custom HTML block. Nothing inside it can be selected, moved or edited as a block.
- Specificity fights. Change a value in the editor and nothing happens on the front end, because the injected stylesheet overrides the attribute-generated CSS.
- Broken nesting and duplicate IDs. Columns outside Row Layouts and blank or copied unique IDs make Kadence key its generated CSS to the wrong blocks — styles bleed or vanish.
A quick test for any converter output: open the page in the editor, click a heading, and look at the sidebar. If the typography controls are empty, the design is not in the blocks — and every future edit will be a fight.
How to convert HTML to Kadence Blocks the right way
NibWP exposes Kadence to your AI client — Claude, Cursor or ChatGPT — as typed MCP tools on your own site. The Kadence Pro skill takes HTML, a live URL or a screenshot and returns a genuine Kadence Blocks layout: Row Layout and column sections, advanced headings, buttons and info boxes, styled through native block attributes with correct nesting and a unique ID on every block.
Every conversion follows the same four-step pipeline:
- Drop a source. Pasted HTML, a live URL, or a screenshot.
- Map to Kadence blocks. Every node becomes a real block — no core/html dumps — and every style becomes a native block attribute.
- Validate and score. Block names, nesting rules, unique IDs and accessibility are checked against a live registry and graded before anything is written.
- Approve and persist. You review the plan, then the layout is written to a page, post, Kadence Element or reusable pattern — only on your OK.
Five tools drive the pipeline, and knowing their names helps you steer the conversation:
kadence-pro-html-to-blocks— converts HTML, a URL or an image into a validated Kadence Blocks layoutkadence-pro-list-blocks— the Kadence block library plus its parent/child nesting ruleskadence-pro-preview— validates and scores a block tree without writing anythingkadence-pro-refine— tweaks an existing Kadence layout from a plain-English instructionkadence-pro-feedback— records a thumbs up or down so future conversions improve
What you need before you start
- A WordPress site with the NibWP plugin installed and connected to your AI client — the step-by-step MCP setup guide covers this in about five minutes
- Kadence Blocks (the free plugin) active — the output is real Kadence blocks, so Kadence must be there to render them
- The Kadence Pro skill, included in the Bundle or available as a standalone Pro Skill
- The HTML, URL or screenshot you want to convert
Reads are read-only and writes are gated behind an approval step, so you can try everything below on a live site without anything being saved until you say so.
Walkthrough 1: Convert a pasted HTML section
The simplest case: you have a hero section as HTML — from a prototype, a template, or code an AI wrote — and you want it as editable Kadence blocks.
- Copy the HTML for the section, inline styles and all. It does not need to be clean; the mapper reads the structure and computed intent, not just the class names.
- In your connected AI client, paste it with a prompt like: “Convert this HTML to Kadence Blocks on my site, as a new draft page.”
- The agent calls kadence-pro-list-blocks to load the block library and nesting rules, then kadence-pro-html-to-blocks with your markup.
- Review the plan it shows you: a block tree — Row Layout at the top, columns inside it, then Advanced Heading, paragraph and button blocks — with the styling mapped to native attributes.
- Approve. The layout is written as a draft page and nothing else is touched.
- Open the page in the Kadence editor and save it once. Some Kadence blocks are static-save, and one save in the editor materializes every block pixel-perfect.
The output for a simple hero looks like this — real block names, a unique ID on every block, and the styling in attributes:
<!-- wp:kadence/rowlayout {"uniqueID":"1834_a7f2c1",
     "padding":[80,20,80,20],"bgColor":"#101828"} -->
  <!-- wp:kadence/column {"uniqueID":"1834_b3e9d4"} -->
    <!-- wp:kadence/advancedheading {"uniqueID":"1834_c5a1f8",
         "level":1,"align":"center","color":"#ffffff",
         "typography":"Inter","fontSize":[56,44,34]} -->
    ...
    <!-- /wp:kadence/advancedheading -->
    <!-- wp:kadence/advancedbtn {"uniqueID":"1834_d2c7e6"} -->
      <!-- wp:kadence/singlebtn {"uniqueID":"1834_e8b4a2",
           "text":"Start free","color":"#ffffff"} /-->
    <!-- /wp:kadence/advancedbtn -->
  <!-- /wp:kadence/column -->
<!-- /wp:kadence/rowlayout -->
Three spot-checks tell you the conversion is genuine: every block name starts with kadence/ or a core text block — never a core/html dump; every block carries a uniqueID; and the padding, colors and font sizes sit in the block comment as attributes, not in a stylesheet.
Walkthrough 2: Convert a full HTML landing page
A complete page — hero, feature grid, testimonial band, pricing, final call to action — works the same way, it just exercises the mapper harder.
- Provide the whole HTML file (or the full page markup) and ask for a conversion to a new draft page.
- The mapper works section by section: the hero becomes a Row Layout with a background and overlay, the feature grid becomes a Row Layout with three columns of Info Box blocks, the testimonial band becomes its own Row Layout with a quote layout.
- Repeated card markup gets flagged: if the “latest articles” strip is really a post list, the plan proposes a dynamic kadence/posts block instead of three hard-coded cards — so the section updates itself when you publish.
- The whole tree is validated and scored in one pass: names, nesting, unique IDs, heading order and accessibility basics. You see the grade before anything is written.
- Approve, then open the draft and walk the tablet and mobile breakpoints in the editor. Responsive sizes were mapped to Kadence's responsive attribute arrays, so the breakpoint controls are populated and adjustable — check them like you would on any hand-built page.
Budget a few minutes for review on a big page. The point of the plan-first flow is that you catch a mis-mapped section before it is saved, not after.
Walkthrough 3: Clone a live URL into Kadence Blocks
When the page already exists — an old site you are rebuilding, a staging page, a design approved on another property you own — the URL is a better source than copied markup, because the converter sees the rendered result: computed styles, real image URLs, actual fonts.
- Give the agent the address: “Rebuild https://old-site.example/pricing as Kadence Blocks on this site.”
- The page is fetched and parsed as rendered, and the same mapping pipeline runs on what a visitor actually sees.
- Assets are handled properly: images are sideloaded into your media library rather than hotlinked from the old site.
- Validate, approve, and save — as a page, or as a pattern if you plan to reuse the section on several sites.
Use this on properties you own or have permission to rebuild. The typical job is migration — moving your own pages onto Kadence without redoing every section by hand.
Walkthrough 4: Screenshot to Kadence Blocks
Sometimes there is no HTML at all — a mockup image, a section spotted in a gallery, a client's “make it look like this” attachment. Kadence Pro accepts an image as the source and infers the layout.
- Paste or attach the screenshot with the same prompt: “Convert this to Kadence Blocks.”
- The layout is inferred from the image: rows, columns, headings, buttons and spacing become the same real-block plan as an HTML conversion.
- Expect close-but-not-exact values: colors and spacing are estimated from pixels, so treat the first pass as a solid draft.
- Validate and approve as usual, then fine-tune with refine instructions (walkthrough 6) — “make the section background pure white, bump the heading to 56px” — instead of re-converting.
Working from a design file rather than a flat image? Pulling structured tokens from the source beats pixel inference — that flow is covered in Convert Figma to Kadence.
Walkthrough 5: Turn an HTML email into a reusable Kadence pattern
HTML email markup is the worst-case input: nested tables, inline styles on every cell, spacer images. It is also a common one — a designed newsletter section the client wants on the site.
- Paste the email HTML and say what it should become: “Convert this to Kadence Blocks and save it as a pattern called Newsletter promo.”
- The table soup is unwound into semantic structure — a Row Layout with columns — and the inline styles are consolidated into block attributes.
- Spacer hacks disappear: gap rows and empty cells become real padding and gap attributes on the Row Layout.
- Approve, and the result is saved as a reusable pattern rather than a page, ready to insert anywhere on the site.
The same save-anywhere choice applies to every walkthrough here: a conversion can land as a page, a post, a Kadence Element — header, footer or hook — or a pattern. Say which you want in the prompt.
Walkthrough 6: Refine the converted layout with plain instructions
Conversion is rarely the last step. The refine tool edits an existing Kadence layout the same safe way it was built — through attributes, with validation and approval.
- Point at the page and say what to change: “Make the hero full-height, switch the button to outline style, and tighten the mobile padding on every section.”
- kadence-pro-refine edits the block attributes — not a stylesheet — so the editor controls still reflect reality afterwards.
- The modified tree is re-validated and re-scored, and you approve before it is saved.
- Close the loop with feedback: a thumbs up or down on the result is recorded and future conversions on your site improve.
This is the habit that keeps a converted page maintainable: refine through attributes, never by pasting CSS over the top of a clean build.
The checklist every conversion must pass
Whether you use the walkthroughs above or any other route, hold the output to this standard — it is exactly what the validator grades before you approve:
- Real block names only. Every block is a genuine Kadence or core block. A single core/html dump fails the conversion.
- Correct nesting. Columns only inside Row Layouts, single buttons only inside Advanced Button groups. Kadence's parent/child rules are enforced, not guessed.
- A unique ID on every block. Kadence keys its generated CSS off the uniqueID — duplicates or blanks mean styles attach to the wrong blocks.
- Native attribute styling. Padding, color and typography live in block attributes, so Kadence generates the CSS and the editor controls stay populated.
- Verified attributes. Responsive sizes and section defaults are checked against a live registry of what Kadence actually supports — never invented.
- An approval gate. Nothing is persisted until you have seen the plan and said yes, and every write lands in the audit log.
Troubleshooting
The layout looks unstyled on the front end
Some Kadence blocks are static-save: their final markup is written when the editor saves. Open the converted page in the Kadence editor and save it once — every block materializes and the front end matches the plan. This is a one-time step per conversion, not a recurring chore.
Blocks show as “missing” in the editor
The output is made of real Kadence blocks, so the free Kadence Blocks plugin must be active on the site. Install and activate it, reload the editor, and the blocks resolve.
Repeated cards came out as static columns
If a section that should stay in sync with your content — latest posts, team members from a post type — converted as hard-coded cards, ask for it dynamic: “Replace the article cards with a dynamic posts block.” Repeated post-shaped markup maps to a kadence/posts block that updates itself.
An edit in the sidebar does nothing
That is the signature of custom CSS overriding attribute styles — usually a leftover stylesheet from an earlier hand-conversion on the same page. Remove the old custom CSS, or re-run the conversion on a clean draft; a native-attribute build has no competing stylesheet by design.
The bottom line
A conversion is only as good as what you can do with it a month later. Flattened HTML with custom CSS freezes the design at the moment of conversion; every real Kadence block styled through native attributes keeps the page editable, responsive and on-palette for whoever opens it next.
The pipeline that gets you there is boring on purpose: map to real blocks, style through attributes, validate against Kadence's own rules, and write nothing without approval. The six walkthroughs above are the same pipeline pointed at different sources — section, page, URL, screenshot, email, refinement.
Kadence Pro is included in the NibWP Bundle, or available as a standalone Pro Skill — see pricing for both. New to the setup? Start with connecting your AI client to WordPress over MCP, or explore everything Kadence can do over MCP on the Kadence + MCP page. Building for Elementor instead? The same native-output rule applies in converting a design to an editable Elementor page.