How to convert a design into an editable Elementor page — no code
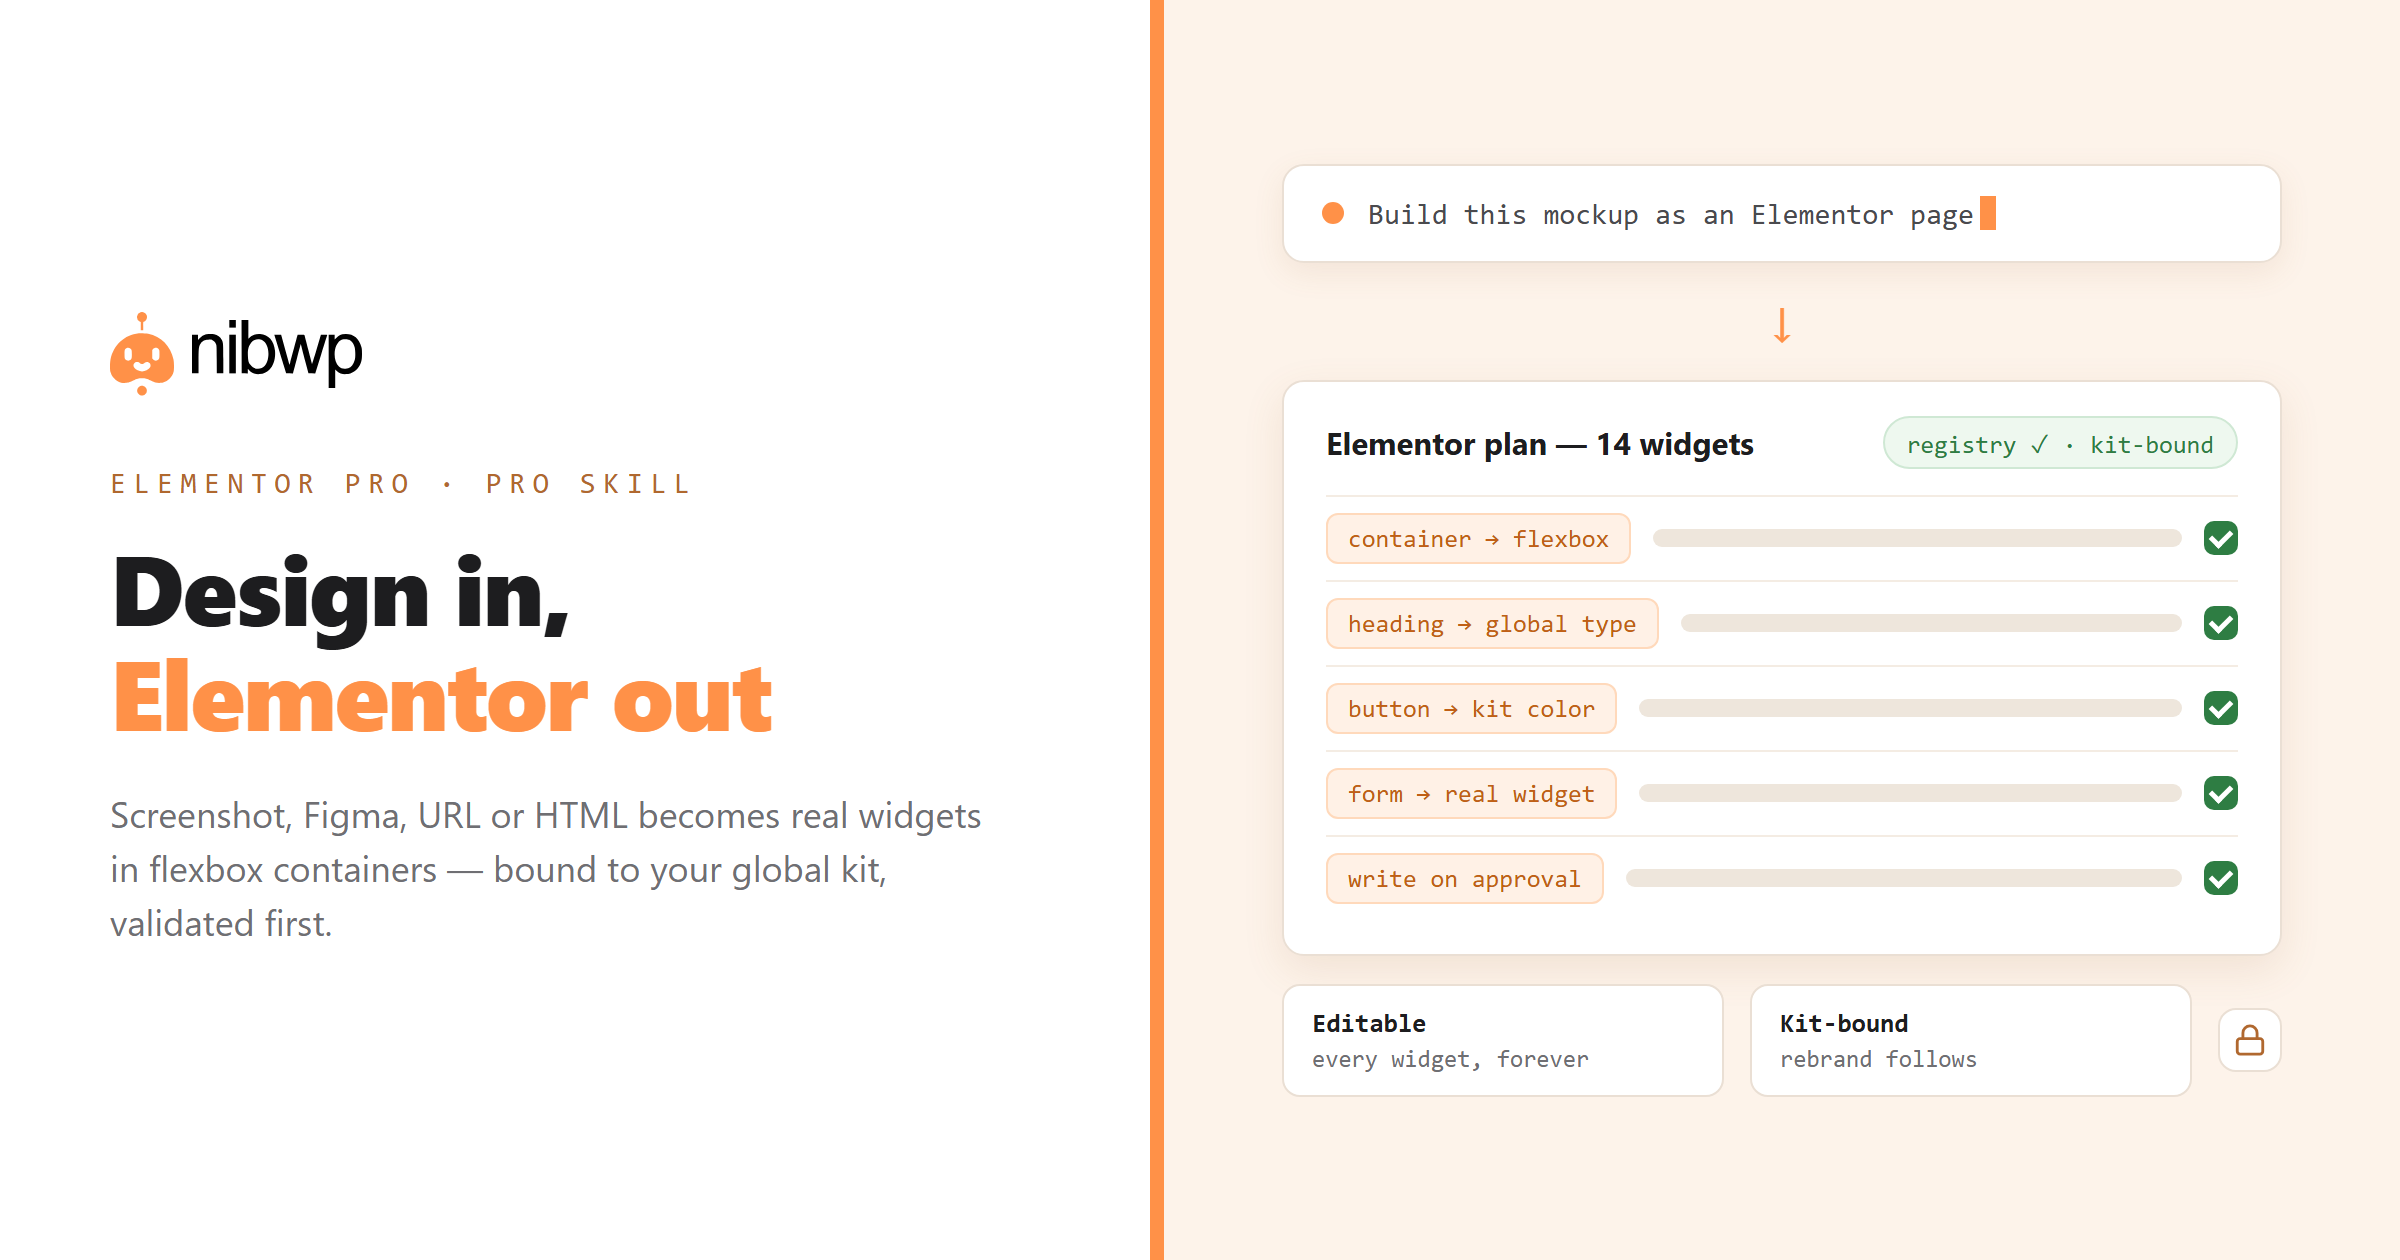
Turning a client mockup into a real Elementor page usually means rebuilding it by hand, widget by widget — or pasting it through a converter and getting a flattened HTML lump the builder can't edit. To convert a design to an editable Elementor page, the output has to arrive as what Elementor actually understands: real widgets, real flexbox containers, bound to your global kit.
That's what NibWP's Elementor Pro skill does: hand it a screenshot, a Figma frame, a live URL or raw HTML, and it returns a native Elementor page — validated against your site's live widget registry, styled through widget controls, and written only when you approve the plan. This guide walks through each source, then the checks that make the result safe to hand to a client.
Why flattened output fails in Elementor
- One HTML lump, zero editability. Generic AI output collapses the design into a single HTML widget. Nothing inside can be selected, moved or restyled in the editor.
- Inline hex values everywhere. Colors and fonts hard-coded per element ignore your global kit — rebrand the kit and the page doesn't follow.
- Invented widgets. Output that references widgets your site doesn't have renders as broken placeholders.
- No plan, no review. Straight-to-page writing means you discover problems on the live site.
How to convert a design to an editable Elementor page
One pipeline, four sources. In every case the skill maps the design to real Elementor structure — flexbox containers, headings, buttons, images, forms — validates the result against the widgets actually registered on your site, and shows you the plan before anything is written:
- Screenshot → page. A mockup or reference image; layout and hierarchy are inferred from pixels and rebuilt as native sections.
- Figma → page. Design files convert with their real tokens — the color palette and type ramp arrive as global styles, not guesses. Full flow: convert Figma to Elementor.
- URL → page. Rebuild from a rendered page: computed styles, real assets, images sideloaded into your library.
- HTML → page. Prototypes and legacy markup become editable widgets instead of a pasted blob.
Walkthrough: screenshot to shipped page
- Paste the design into your connected AI client — Claude, Cursor or ChatGPT — with the target: “build this as a new draft page in Elementor.”
- The skill maps the layout to flexbox containers and real widgets, and binds colors and type to your global kit.
- Validation runs against the live widget registry — only widgets your install actually has, structured the way Elementor expects.
- Review the plan: the container tree, the widgets, the kit bindings. Approve.
- The page is written as a draft and renders immediately — open it in Elementor and everything is selectable, editable, yours.
- Refine by instruction — “make the hero full-height, tighten mobile padding” — and the skill edits widget controls, not injected CSS.
Bound to your global kit — the detail that ages well
Colors and fonts bind to your global styles, not inline hex values. Change a global color and the generated page follows, because it was wired to the kit from the start. That's the difference between a page that was generated once and a page that's genuinely part of the site.
The acceptance checklist
- Every element is a real Elementor widget in a flexbox container — no HTML-lump widgets.
- Colors and typography reference the global kit, not per-element values.
- The widget set matches your install — validated against the live registry, never invented.
- The page rendered correctly on first load — persisted properly, not half-saved.
- The whole thing arrived as a plan you approved, with the write in the audit log.
The bottom line
A design-to-Elementor conversion is only worth doing if the result is editable a month later. Native widgets, kit bindings and registry validation are what make that true — and the plan-and-approve flow is what makes it safe to run on client sites.
Elementor Pro is one skill in the set — the same pipeline covers screenshots and URLs into any builder and HTML into Kadence Blocks. It's included in the Bundle or available standalone — see the skill · pricing.